Homemade Raspberry Jam

Amina Hassan
| 11-08-2026
 · Cate team
Lykkers, have we ever looked at fresh raspberries and wished we could enjoy their sweet-tart flavor for longer?
We can turn them into a bright homemade jam with just three main ingredients. The process is simple, takes about 40 minutes, and gives us around 2 1/2 cups of rich, colorful fruit spread.
What We Are Making
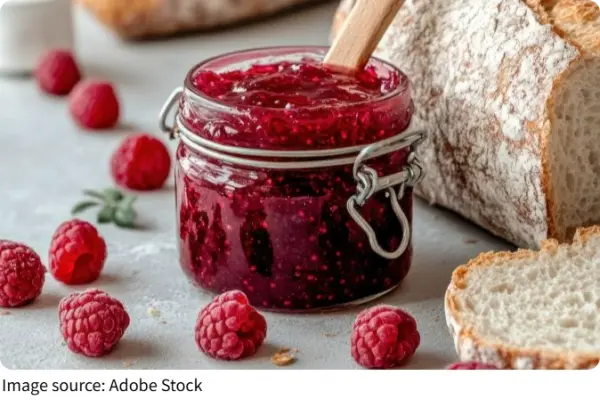
We are making a classic stovetop raspberry jam with a glossy texture and fresh berry flavor. Sugar helps create the thick consistency, while lemon juice adds a light citrus note. The berries also contain natural pectin, so we do not need a separate thickening ingredient.
Once finished, we can spread it over toast, spoon it into yogurt, serve it with a cheese platter, or add it to ice cream. Because the recipe uses only a few ingredients, the natural raspberry flavor stays at the center.
Ingredients We Need
Before cooking, we can prepare everything at once.
For about 2 1/2 cups of jam:
- Fresh raspberries: 4 cups, about four 6-ounce containers
- Granulated sugar: 2 cups
- Lemon: 1 whole lemon
- Fresh lemon juice: 1 tablespoon
- Lemon zest: zest from the same lemon
We also need a medium saucepan, a wooden spoon or heat-safe spatula, a small plate, a spoon, and clean storage jars.
Step 1: Prepare The Fruit
- Place the 4 cups of raspberries in a bowl and check them carefully. Remove any leaves or damaged pieces. If they need rinsing, wash them gently and let them drain well.
- Next, grate the yellow outer layer of 1 lemon to collect the zest. Then squeeze the lemon until we have exactly 1 tablespoon of juice.
- Having everything measured before cooking makes the next steps much easier.
Step 2: Combine The Ingredients
- Put all 4 cups of raspberries into a medium saucepan. Add the 2 cups of sugar, the lemon zest, and 1 tablespoon of lemon juice.
- Using a spoon, gently crush some of the berries. We do not need to make a smooth puree. Leaving some pieces whole gives the finished spread a pleasant fruit texture.
- Let the mixture sit for 10 minutes. During this time, the sugar draws juice from the berries and begins to dissolve.
Step 3: Prepare The Chilled Plate
- While the fruit rests, place a small plate in the freezer.
- This simple tool will help us check the consistency later. A chilled surface quickly cools a small sample, making it easier to see whether the jam is thick enough.
Step 4: Begin Cooking
- Place the saucepan over medium-high heat. Stir gently as the mixture warms.
- The raspberries will release more juice, and the sugar will dissolve into the liquid. Continue heating until the mixture reaches a steady boil.
- Once it begins bubbling, reduce the heat to medium. Stir frequently, especially around the bottom and sides of the pan.
Step 5: Cook Until Thick
- Continue cooking for about 25 minutes. At first, the mixture will look loose and watery. As more liquid evaporates, the color will deepen and the texture will become thicker and glossier.
- Keep stirring regularly so the fruit cooks evenly. Near the end, watch the consistency closely because cooking speed can vary depending on the saucepan and heat level.
Step 6: Test The Consistency
- Take the chilled plate from the freezer and place about 1 teaspoon of hot jam on it. Return the plate to the freezer for 2 minutes.
- Remove it and gently drag a finger or spoon through the sample. If the jam stays in place and does not quickly flow back together, the texture is ready.
- If it still looks thin, cook the mixture for another 5 minutes, then repeat the test. Continue using 5-minute intervals until the desired consistency is reached.
Step 7: Cool And Store
- Remove the saucepan from the heat once the jam is ready. Carefully transfer the hot mixture into clean storage jars.
- Allow the jars to cool completely before sealing them. Store the finished jam in the refrigerator, where it can keep for up to 6 months when stored properly.
Step 8: Enjoy The Result
- Now we can enjoy our homemade creation, Lykkers. Spread 1–2 tablespoons over toast, stir 1 tablespoon into yogurt, or spoon some over ice cream.
- We can also serve a small amount alongside a cheese platter. The bright berry flavor adds a fresh contrast to simple foods.
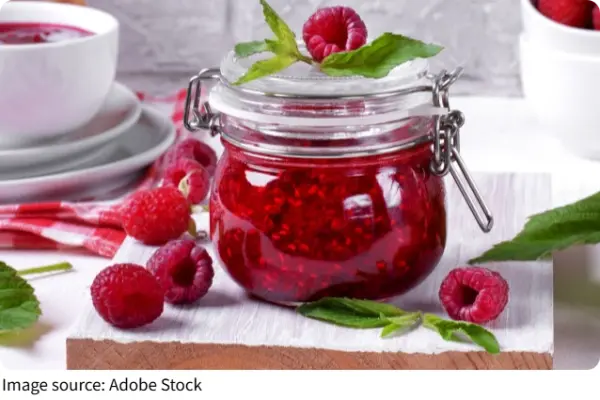
Making raspberry jam at home is much easier when we follow each stage carefully. We measure 4 cups of raspberries, 2 cups of sugar, and 1 tablespoon of lemon juice, allow the mixture to rest for 10 minutes, cook it for about 25 minutes, and use the chilled-plate test to judge the final texture.
Lykkers, which way would we enjoy this jam first: warm toast, creamy yogurt, or a sweet dessert? With this easy method, we can make a fresh batch whenever ripe raspberries are ready for the kitchen.
EASIEST Homemade Raspberry Jam Recipe | Small Batch Recipe!
Video by Black Cat Kitchen