


Warm Light

Sophie27. 8. 2026 · 4 min čítania
Hello Lykkers! A wood ceiling in the kitchen sounds warm and inviting, but the moment you switch on a single overhead light, the room turns into a dim box.
You think you have to choose between moody and functional. You don't.
The trick is layering light so the wood glows instead of swallowing the room.
Start with task light first
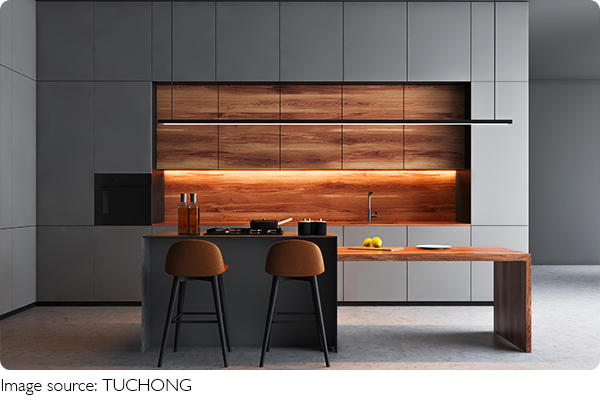
Think about where you actually work: the sink, the stove, the prep counter. Those spots need focused light before anything else. Under-cabinet LED strips, about 4000K, give you crisp visibility without throwing shadows across the ceiling. For a farmhouse-style kitchen with a pine plank ceiling, mount adjustable puck lights under the upper cabinets, spaced roughly every 18 inches. That alone fixes the "dark cave" problem.
Warm bulbs do not mean dim bulbs
People assume warm light equals low light. Wrong. A 2700K bulb at 800 lumens is warm in color but still bright in output. Swap your ceiling fixtures to dimmable LED bulbs in that range and keep the wattage generous. In a kitchen with a walnut ceiling and white shaker cabinets, two pendant lights over an island, each at 1000 lumens, will feel golden without making you squint.
Add a mid-level glow
Overhead cans and under-cabinet strips are the extremes. The middle layer is what softens everything. Install a cove light along the top of the cabinets, or place a small table lamp on the counter. A puck light tucked behind a cookbook stand or a glass-front cabinet works too. In a kitchen with a cedar ceiling and open shelving, a run of LED tape under the shelf edge gives that floating, warm halo effect without any glare.
Let the wood reflect, not absorb
Dark wood eats light, but you can help it bounce back. Use a matte finish on the ceiling, not glossy, and keep the walls light. A soft white or pale greige on the walls reflects the warm glow upward. In a kitchen with a dark oak ceiling and cream walls, the contrast makes the wood feel rich instead of heavy. Add a few brass or copper fixtures, and you get a warm reflection point that catches the light.
Dim the whole scene at once
You need the ability to drop everything to 50 percent when the dishes are done. Install a dimmer switch for each lighting zone, not just the ceiling. That way you can keep the task lights bright while cooking, then lower the pendants and leave the cove light on for evening cleanup. A kitchen with a hickory ceiling and a single dimmer on the main circuit will still feel flat, so split the zones. It costs a bit more, but it makes the room feel alive.
Balance the color temperature
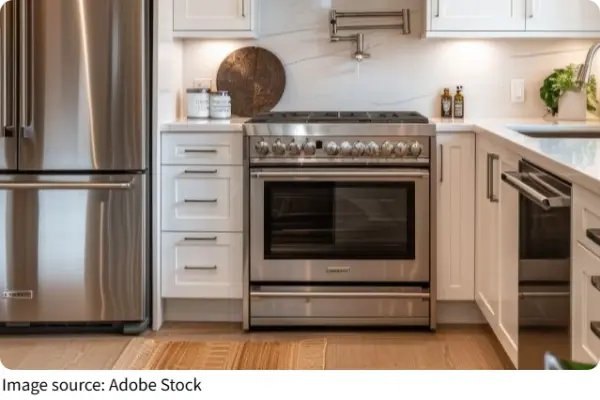
Mix too many color temps and the wood looks muddy. Stick to one range, ideally 2700K to 3000K, across every fixture in the room. If you have a stainless steel range hood and a butcher block counter, that warm range keeps the metal from looking sterile. A single cool 5000K bulb in the mix will drag the whole room toward a clinical blue, and the wood will lose its honey tone.
Test before you commit
Buy one bulb and one tape piece before you wire anything. Set them up in the kitchen with the ceiling as-is, then step back at night. You'll see immediately if the light bounces off the wood or gets lost in it. In a kitchen with a knotty alder ceiling, a quick test with a 2700K LED tape under the upper cabinets showed the wood grain better than any fancier fixture did.
The key is remembering that the wood is the feature, not the obstacle. Give it light to play with, and it will warm the whole room. Start with bright task zones, add a soft mid-layer, and dim everything together when you want the mood. Next time you're about to install one lonely ceiling light, stop and think about the layers instead. Your kitchen will thank you at dinner time.